Deploying Common Fate
Please note that Glide will be transitioning to a sunset phase, with the project being archived on May 16, 2024. For more information, kindly refer to our announcement post.
Quickstart
This page is a quickstart guide for setting up a basic Common Fate deployment in 5 minutes. If you’ve got more than 5 minutes, head over to the Prerequisites page to read the full guide.
All you need is an AWS account, an AWS profile that has the ability to create resources and IAM roles, and an internet connection. You’ll only need to run a few commands. Note that while Common Fate requires AWS to host your deployment, your actual Access Providers can also be Azure or Okta based.
First you’ll install gdeploy, our command-line interface tool for managing Common Fate deployments. (not on Mac? here’s how you install gdeploy on other systems)
brew install common-fate/granted/gdeploy
Next, make a folder to store your Common Fate config files and run initialization.
mkdir granted-deployment
cd granted-deployment
gdeploy init
Now, let’s put some stuff in your cloud. Assume the privileged AWS role in the account you wish to deploy Common Fate and run:
gdeploy create
The deployment should take a few minutes to complete. If it’s successful, your Common Fate deployment will now be online. But you can’t use it without a user. Let’s make one.
gdeploy identity users create --admin -u YOUR_EMAIL_ADDRESS
You’ll get an email with a temporary password. To get the dashboard URL where you can login with the temporary password we can run:
gdeploy dashboard url
Once that’s done, you should see this:
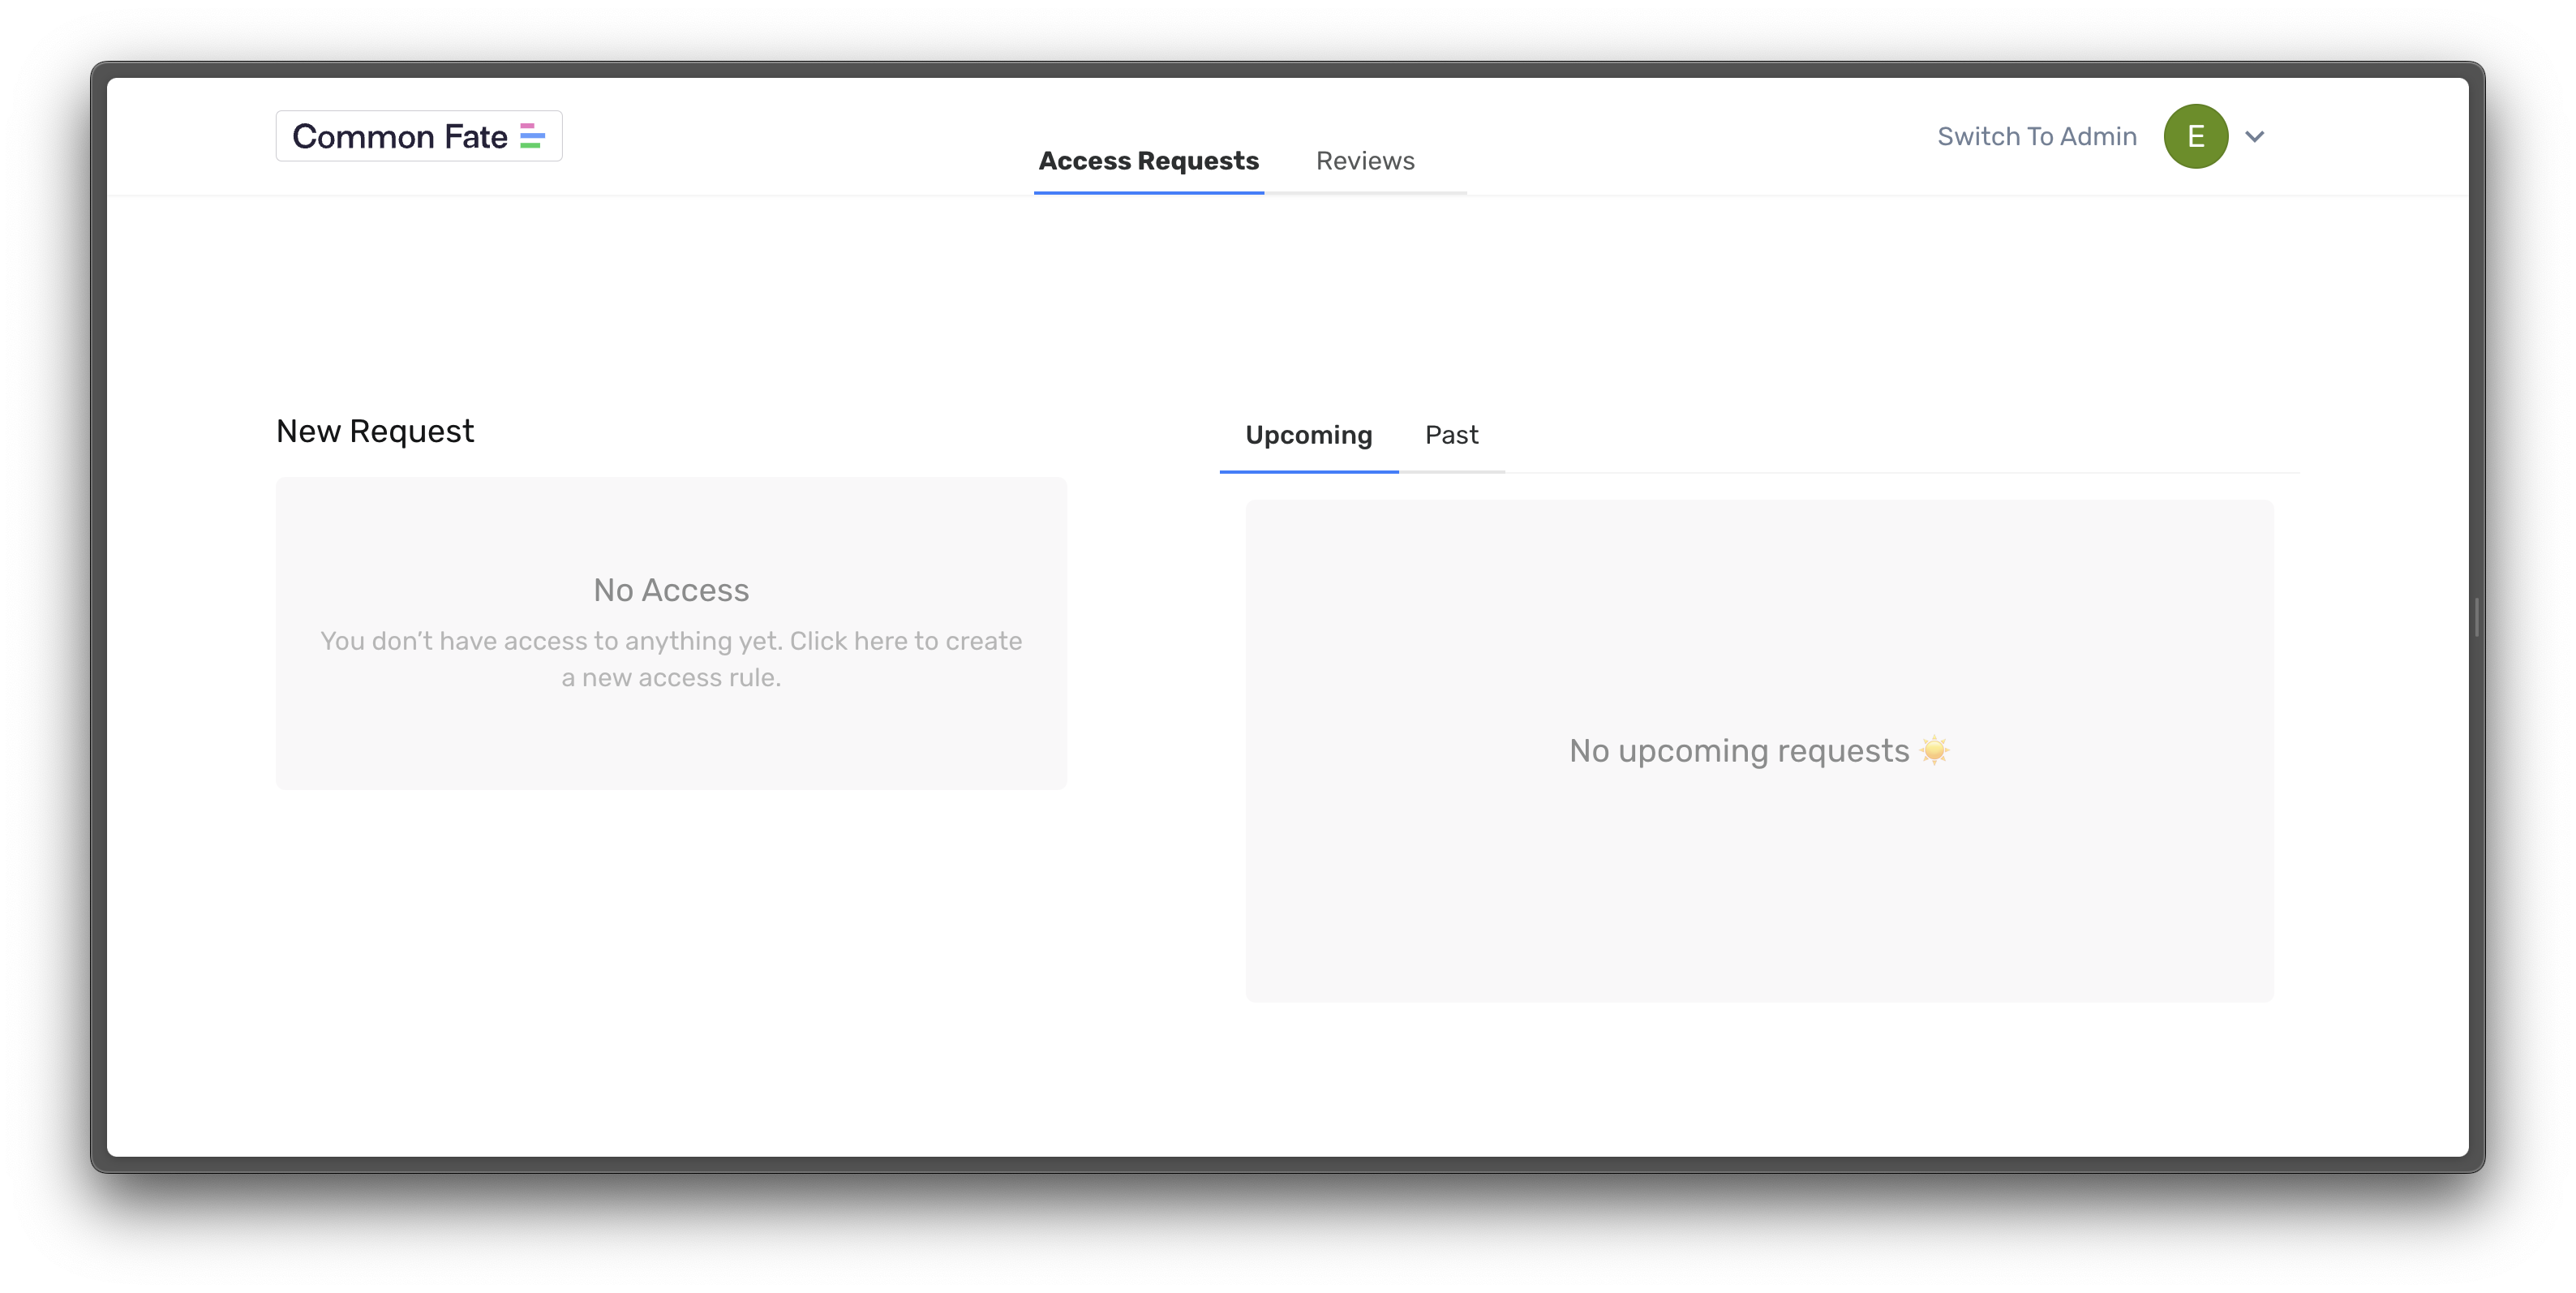
Congrats! You’ve now 10x’d deploying Common Fate. If you want more details on what just happened, check out the subpages of this Deploying Common Fate section.
To start using Granted, check out adding Access Providers.