Running the deployment
Please note that Glide will be transitioning to a sunset phase, with the project being archived on May 16, 2024. For more information, kindly refer to our announcement post.
Now that you’ve set up deployment.yml, it’s time to deploy Common Fate! From the same folder as the previous step, run the following command:
gdeploy create
gdeploy will display a list of resources to create and ask if you wish to continue. Enter Y and press enter to begin the deployment. The deployment process takes around 5 minutes to complete. Grab a coffee while you wait!
After the deployment process is complete, you should see an output similar to the below:
Final stack status: CREATE_COMPLETE
+--------------------------+-------------------------------------------------------------------+
|     OUTPUT PARAMETER     |                               VALUE                               |
+--------------------------+-------------------------------------------------------------------+
| UserPoolDomain           | granted-login-cfdemo.auth.ap-southeast-2.amazoncognito.com        |
| CloudFrontDomain         | d3s0441cha6x1h.cloudfront.net                                     |
| FrontendDomain           |                                                                   |
| APIURL                   | https://9e7t7dgus6.execute-api.ap-southeast-2.amazonaws.com/prod/ |
| DynamoDBTable            | Granted                                                           |
| CognitoClientID          | 3dhk5dn6oobh8r5ft6r7834ijg                                        |
| UserPoolID               | ap-southeast-2_7UAB8g9AZ                                          |
| S3BucketName             | granted-frontendwebappbucketdfdb6ba7-1svhcuc0zft5l                |
| CloudFrontDistributionID | E1V3I3M613HH6O                                                    |
| EventBusArn              | arn:aws:events:ap-southeast-2:616777145260:event-bus/Granted      |
| EventBusSource           | commonfate.io/granted                                             |
| Region                   | ap-southeast-2                                                    |
+--------------------------+-------------------------------------------------------------------+
[✔] Your Common Fate deployment has been updated
You can check the status of your Common Fate deployment at any time by running the following command:
gdeploy status
This command will print the same parameter table that you see above.
Creating an admin user
Before you can use Common Fate, you’ll need to create a user account for yourself. By default, Common Fate uses AWS Cognito to store user account information. You can add a user to the Cognito user pool by running the following command:
gdeploy identity users create --admin -u YOUR_EMAIL_ADDRESS
where YOUR_EMAIL_ADDRESS is your own email address. You should see an output similar to the below:
[✔] created user me@mail.com
[✔] added user me@mail.com to administrator group 'granted_administrators'
Now, check the inbox of your email address. You should have an email from no-reply@verificationemail.com with the subject “Your temporary password”. The email should look similar to the following:
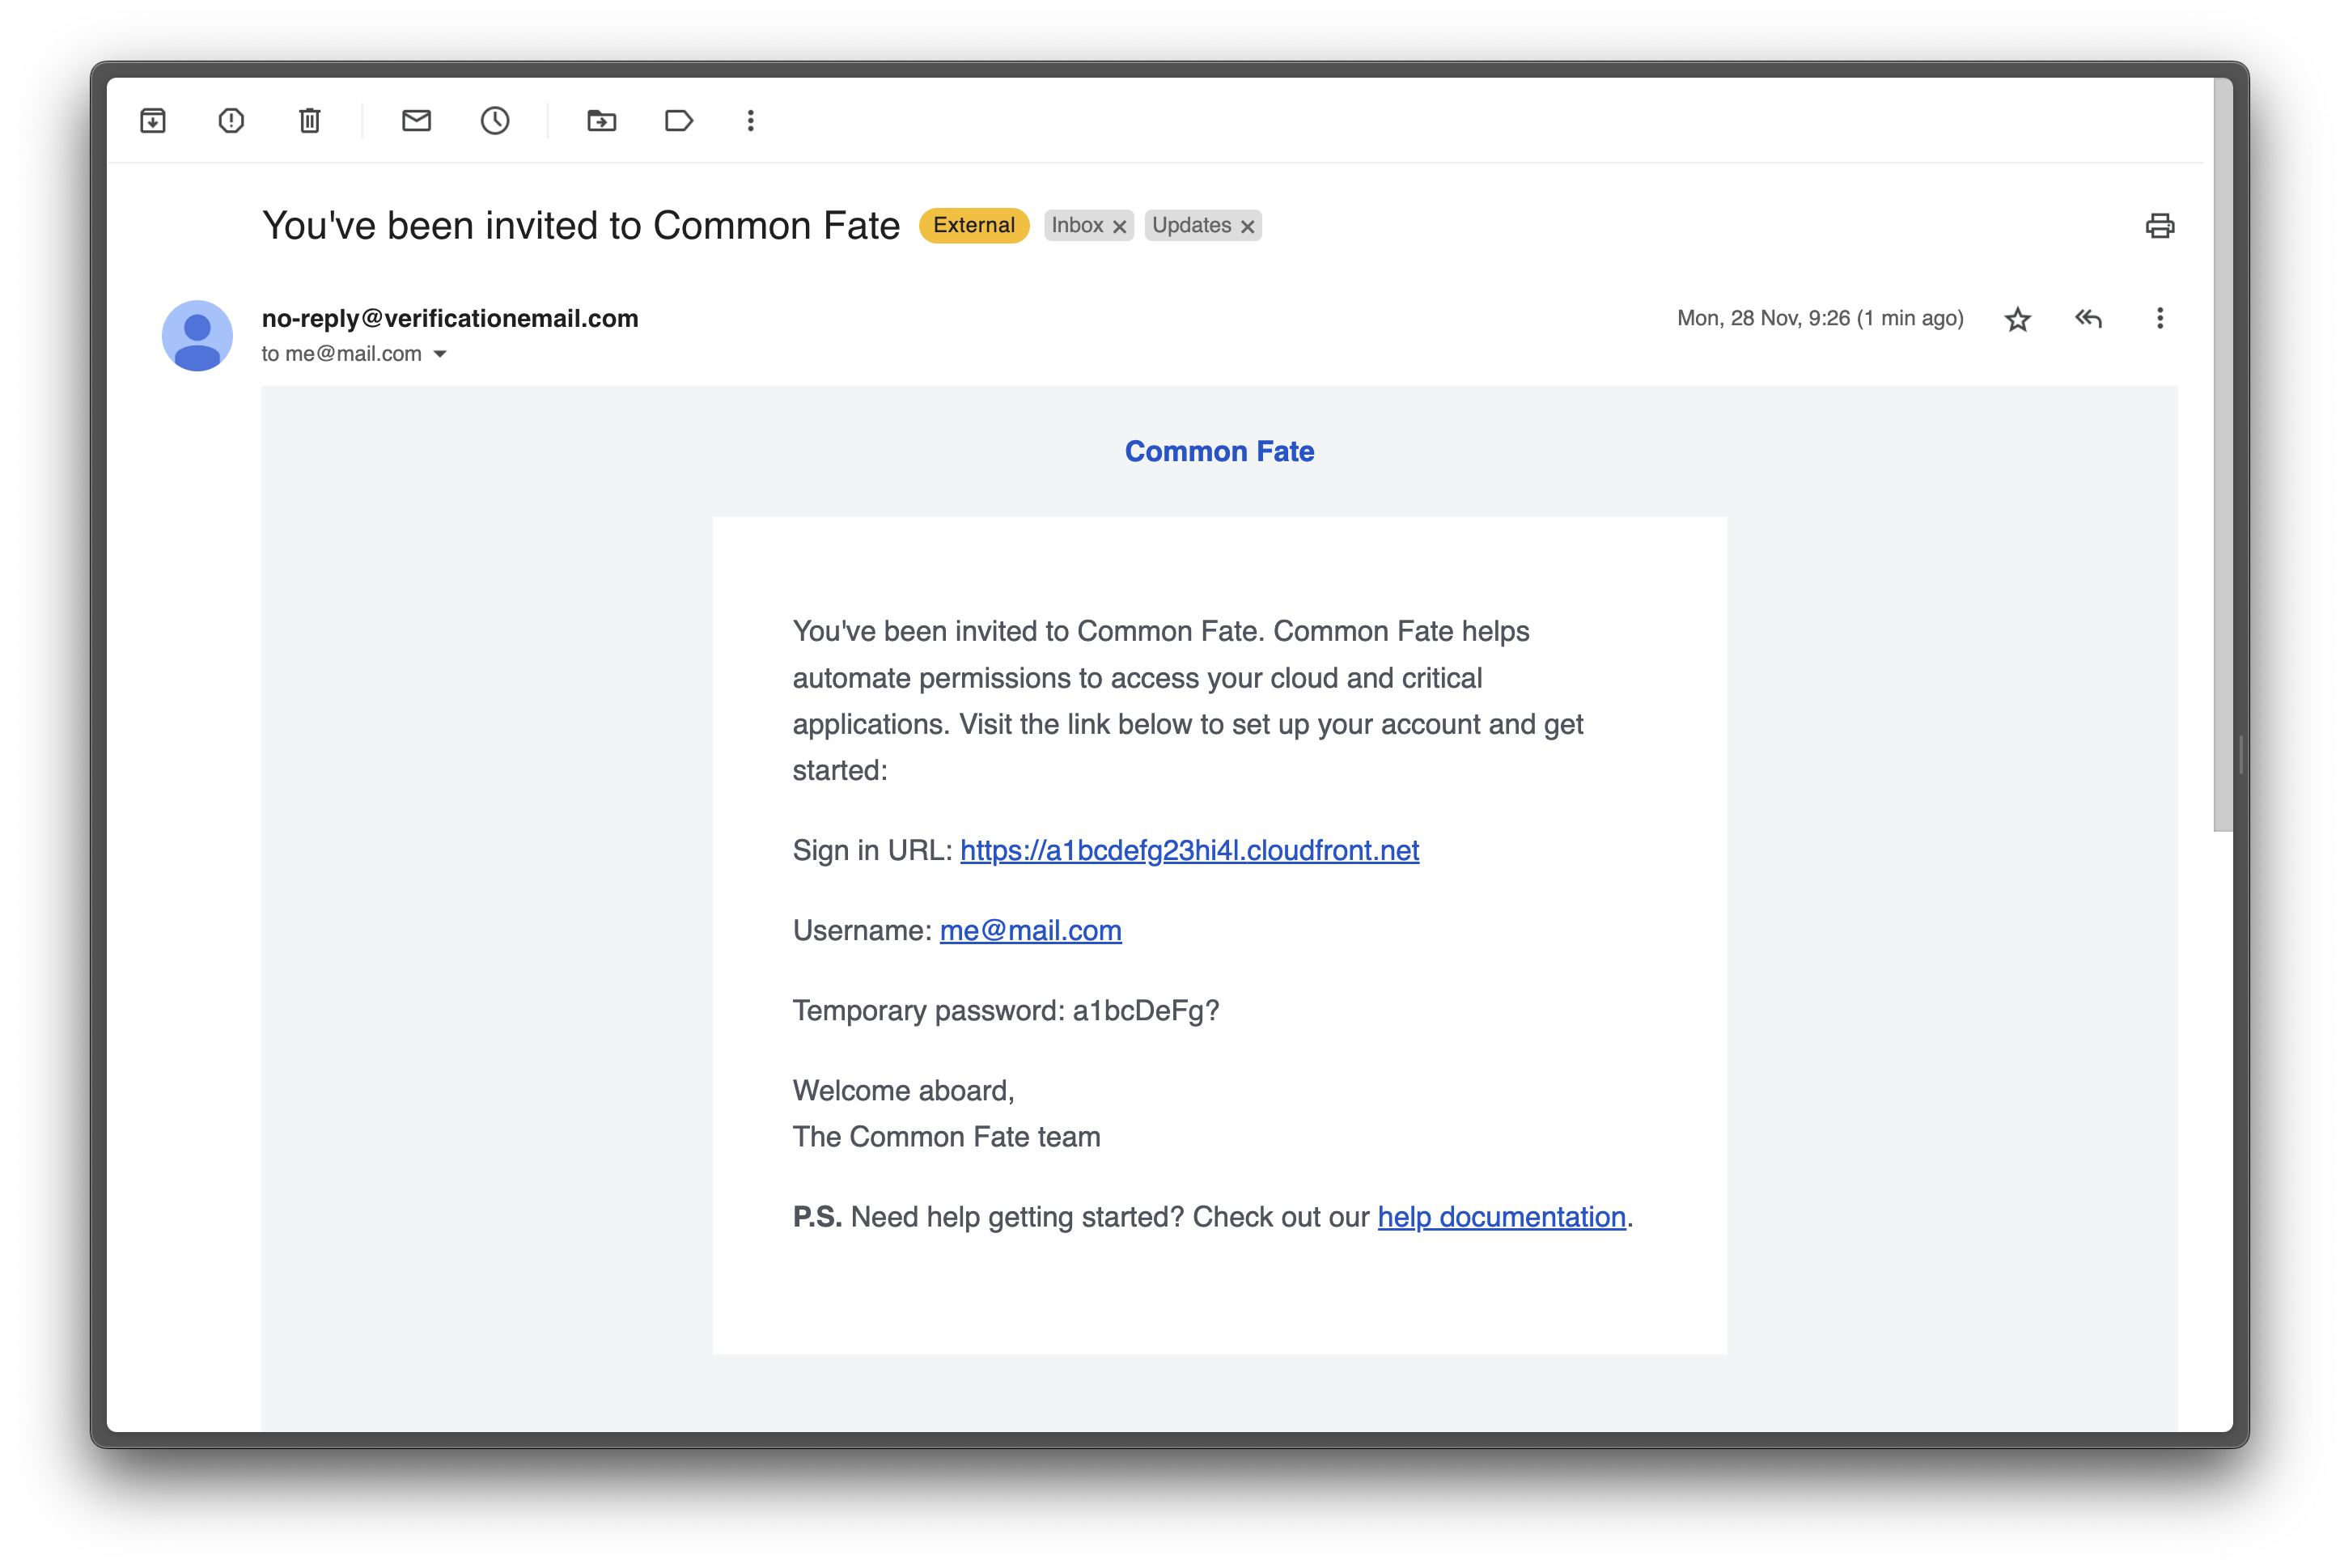
You’ll use this password the first time you log in to Common Fate.
Logging in to the web dashboard
Now that you’ve created a user account, you can log in to Common Fate! Retrieve your web dashboard URL by running:
gdeploy dashboard url
This will output a similar URL:
https://d3s0441cha6x1h.cloudfront.net
Open the dashboard by running:
gdeploy dashboard open
Alternatively, copy the URL into your web browser. The domain should finish with cloudfront.net.
You will be redirected to a login screen which looks similar to the below.

Enter your email address and temporary password from the previous step. You’ll be prompted to set a permanent password. After setting your password, you’ll be redirected to the Common Fate end user dashboard!
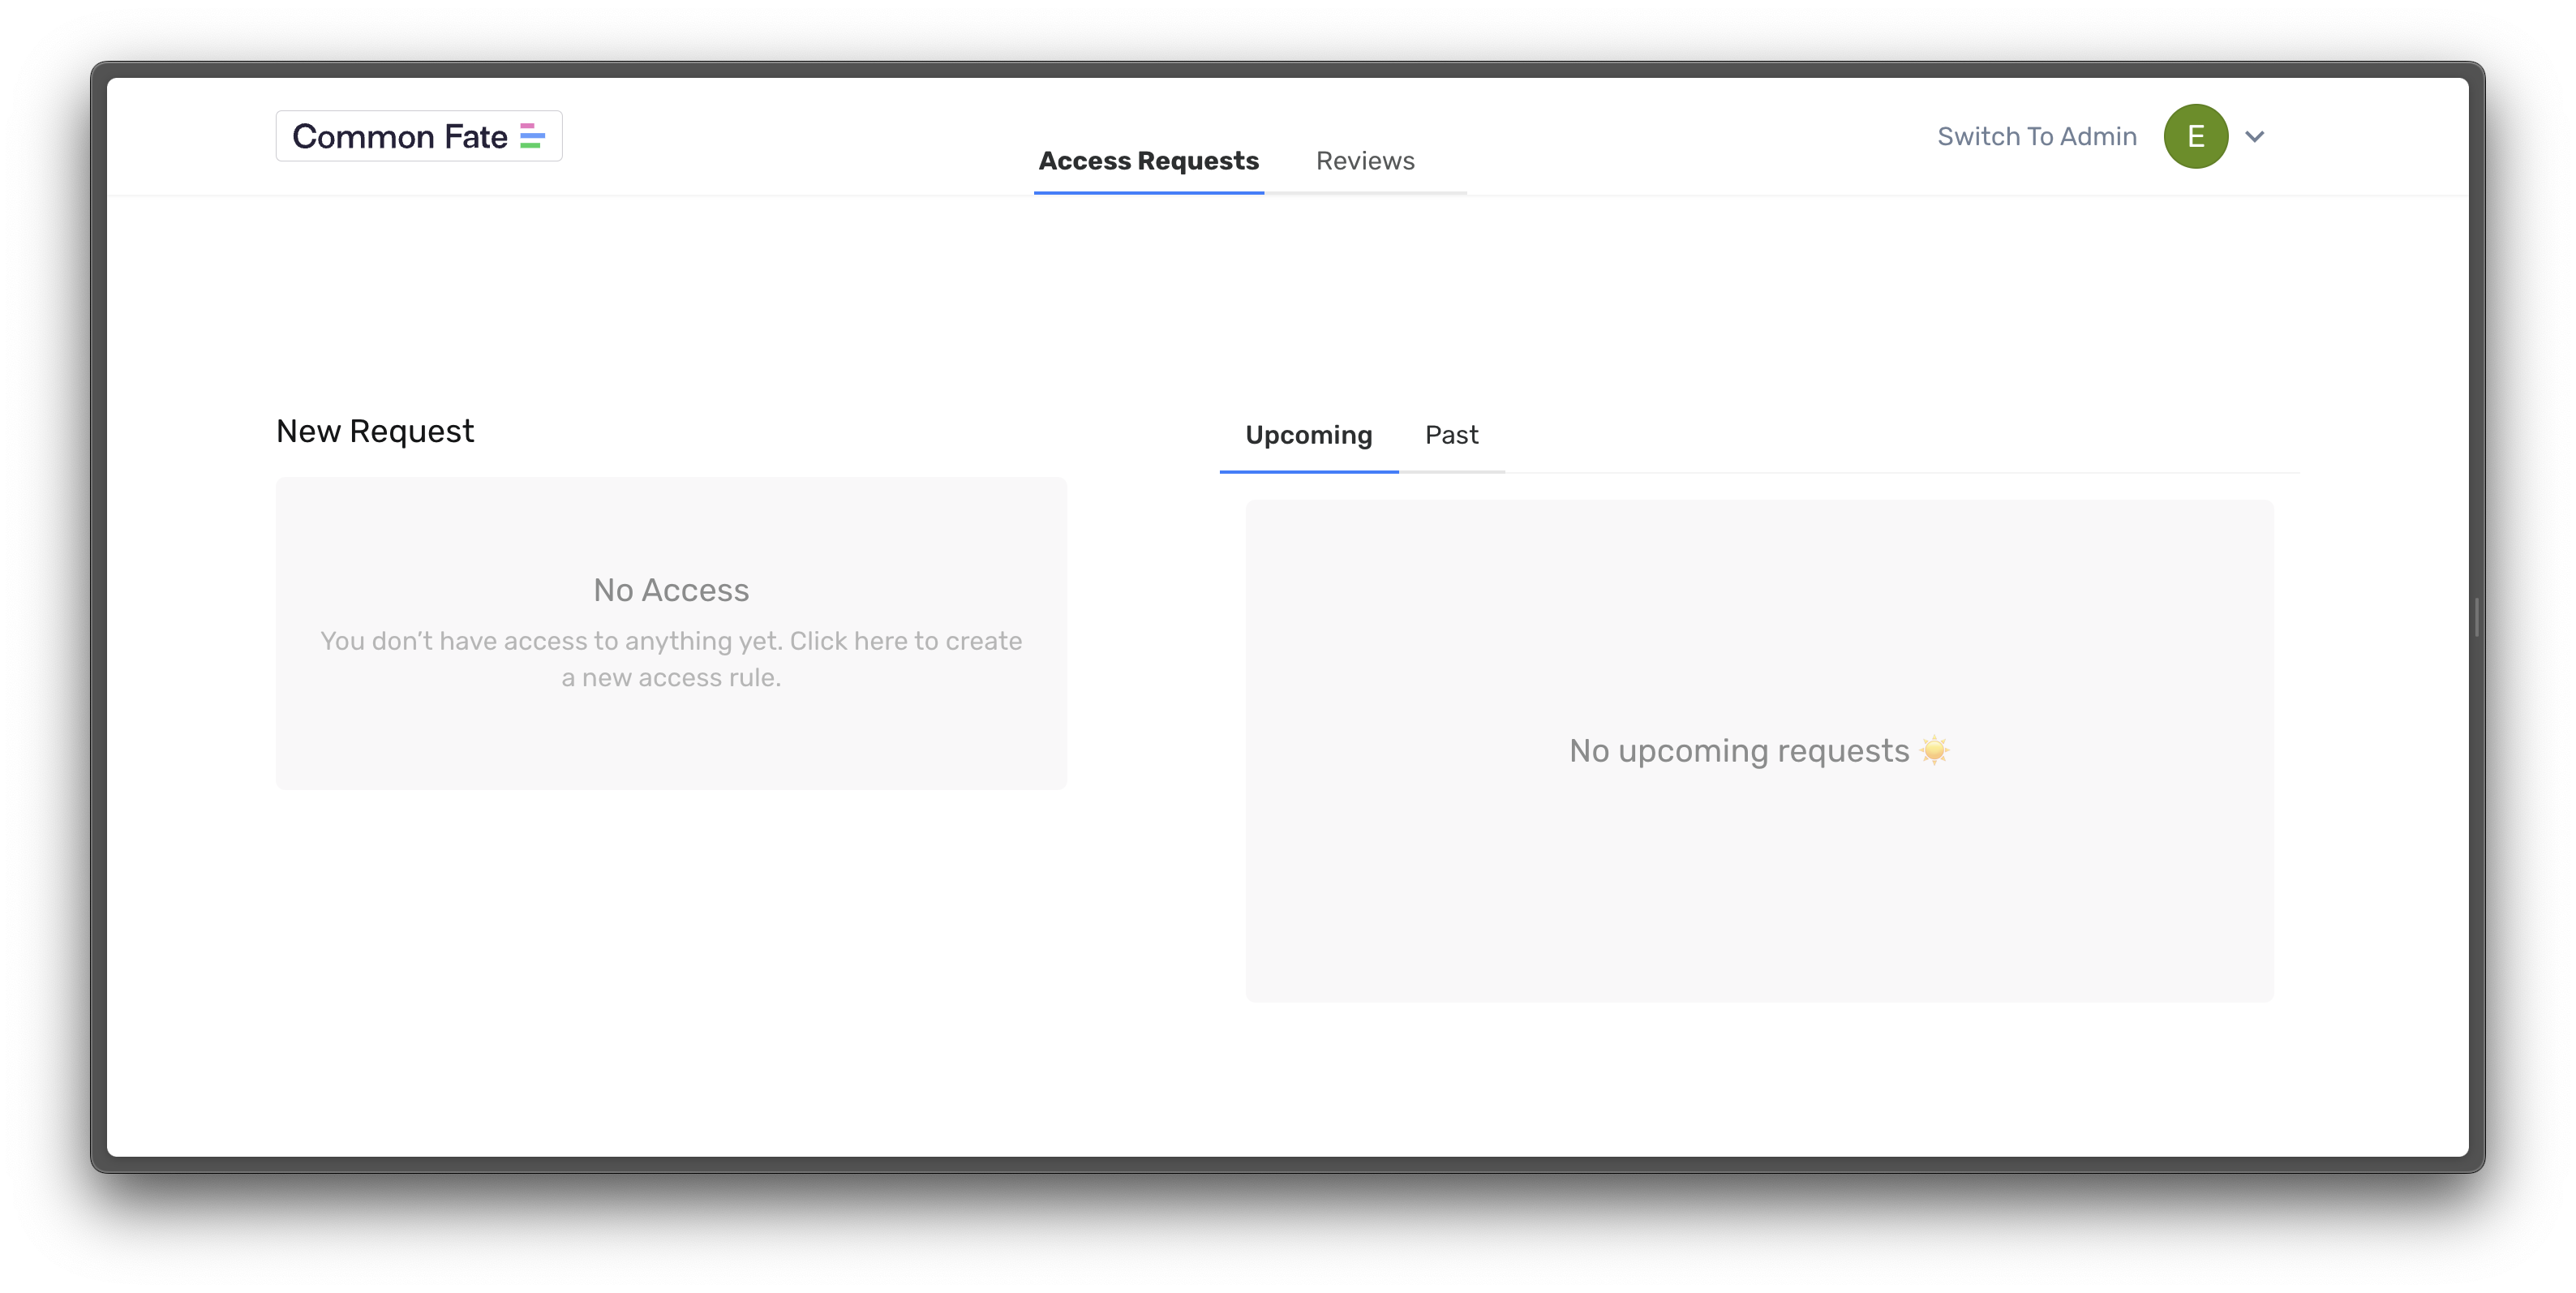
The end user dashboard is where team members can request and approve access to roles and resources. Click the Admin button in the top right to navigate to the admin dashboard.
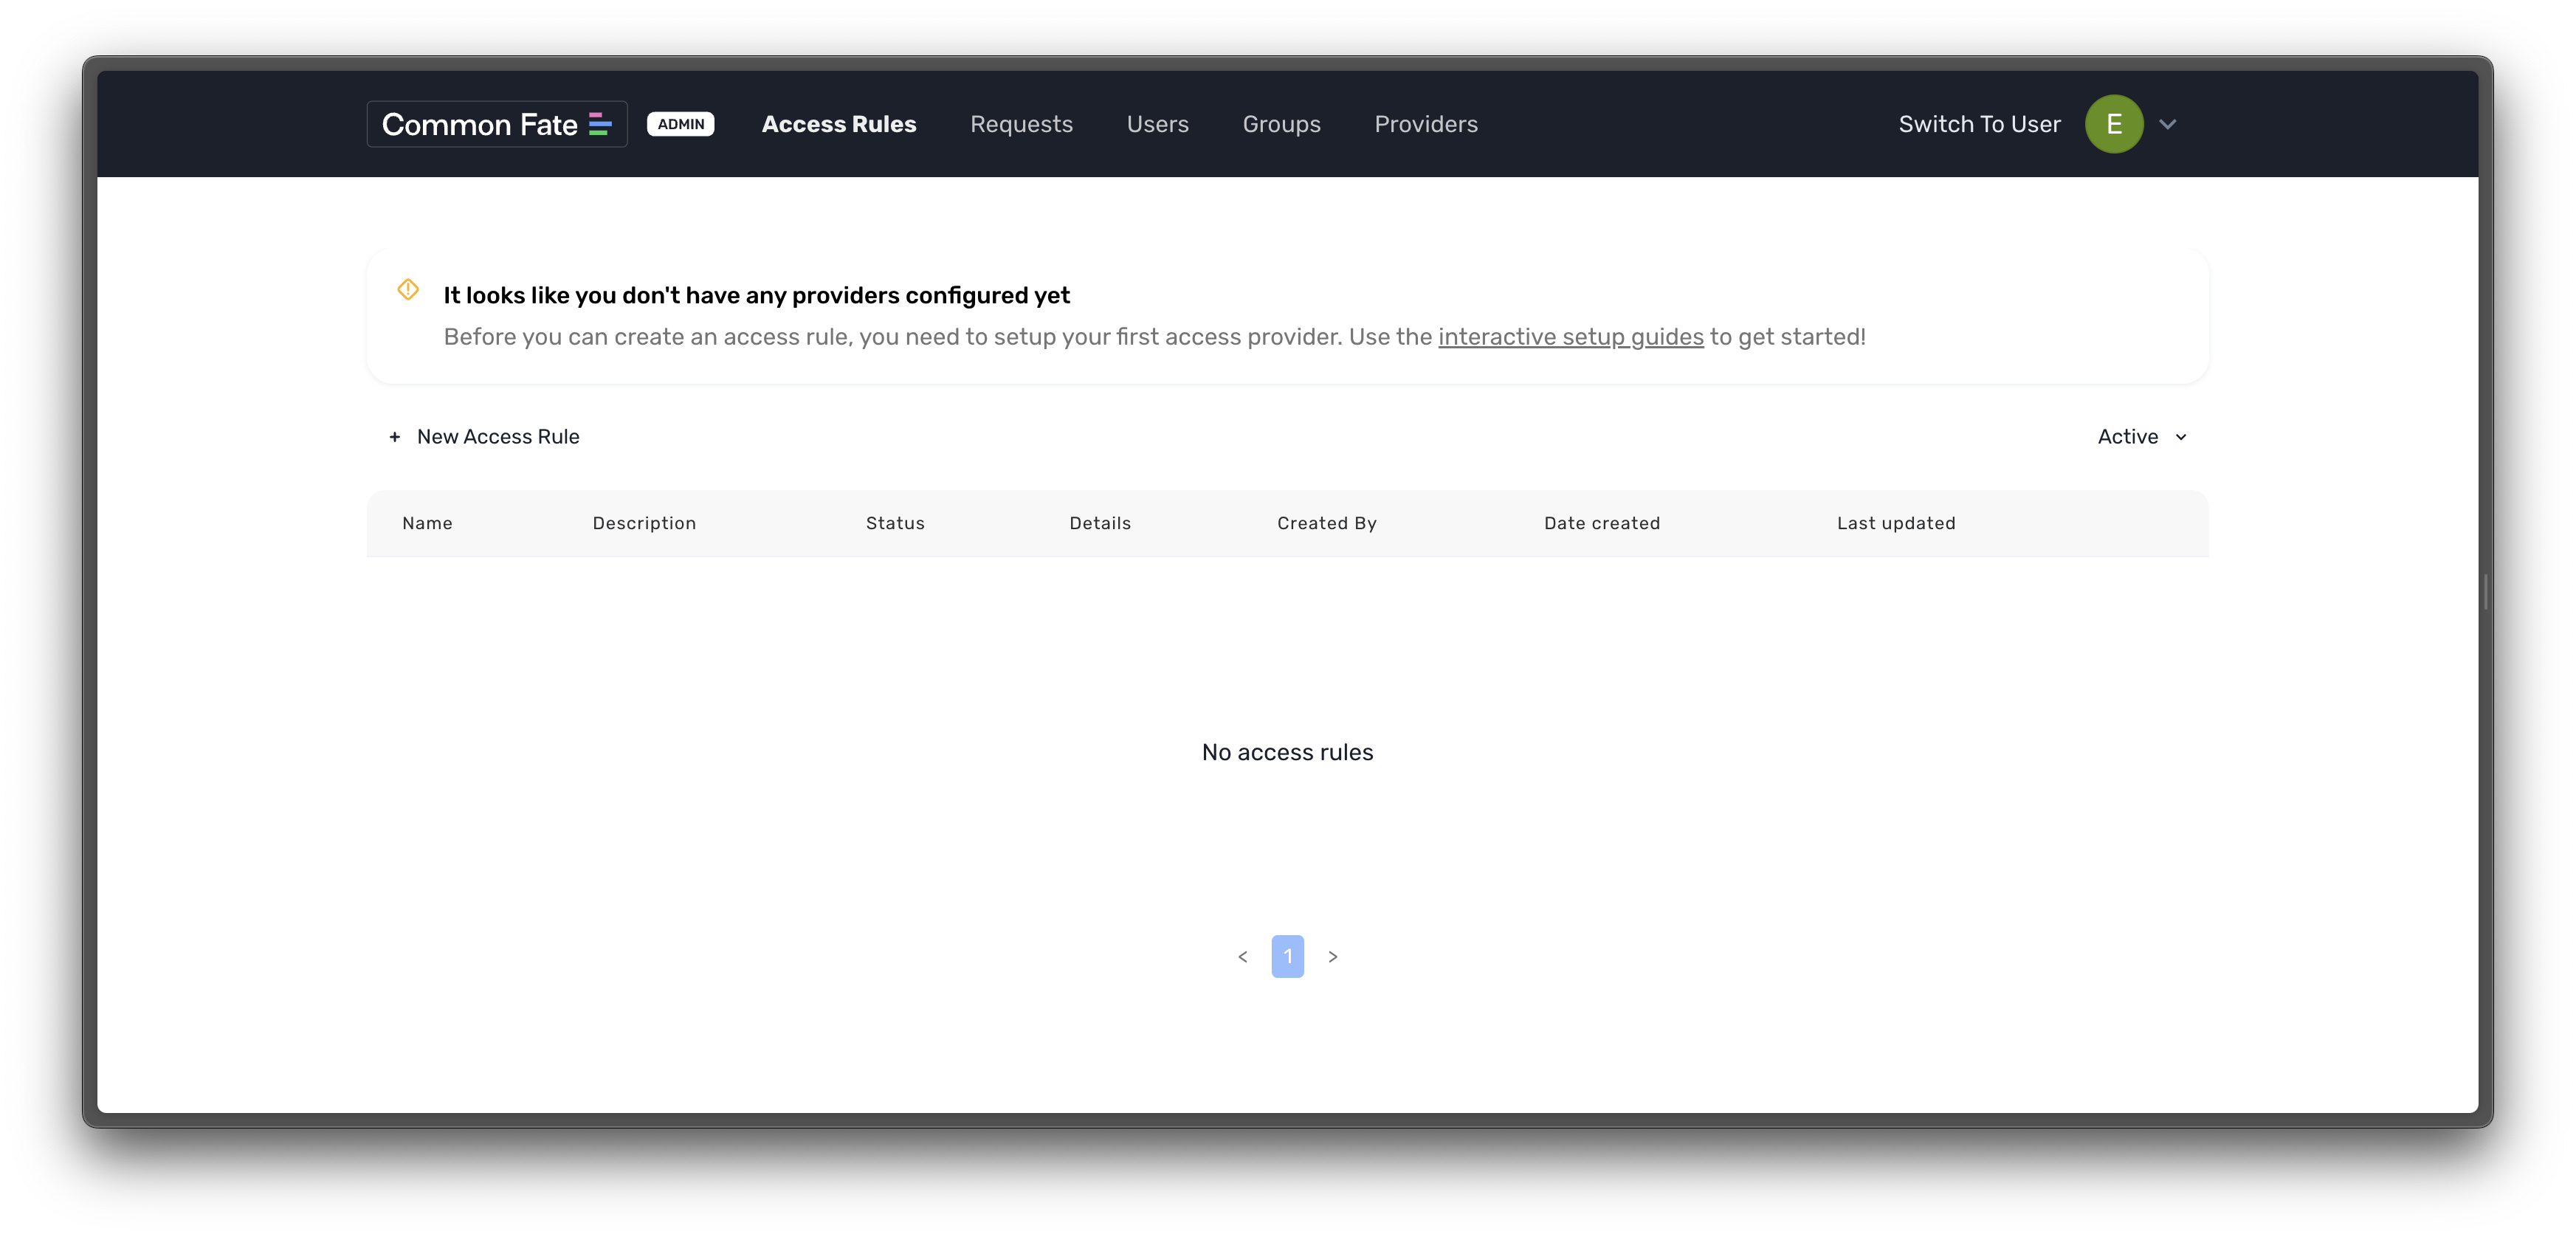
You’ll see that you don’t have access to anything yet! To set this up, we’ll need to add an Access Provider. Click through to the next page to see what the next steps are.